Live View
Live View shows several cameras at once, like the live view of a video management system. Save a view once and every OADM user can open it.
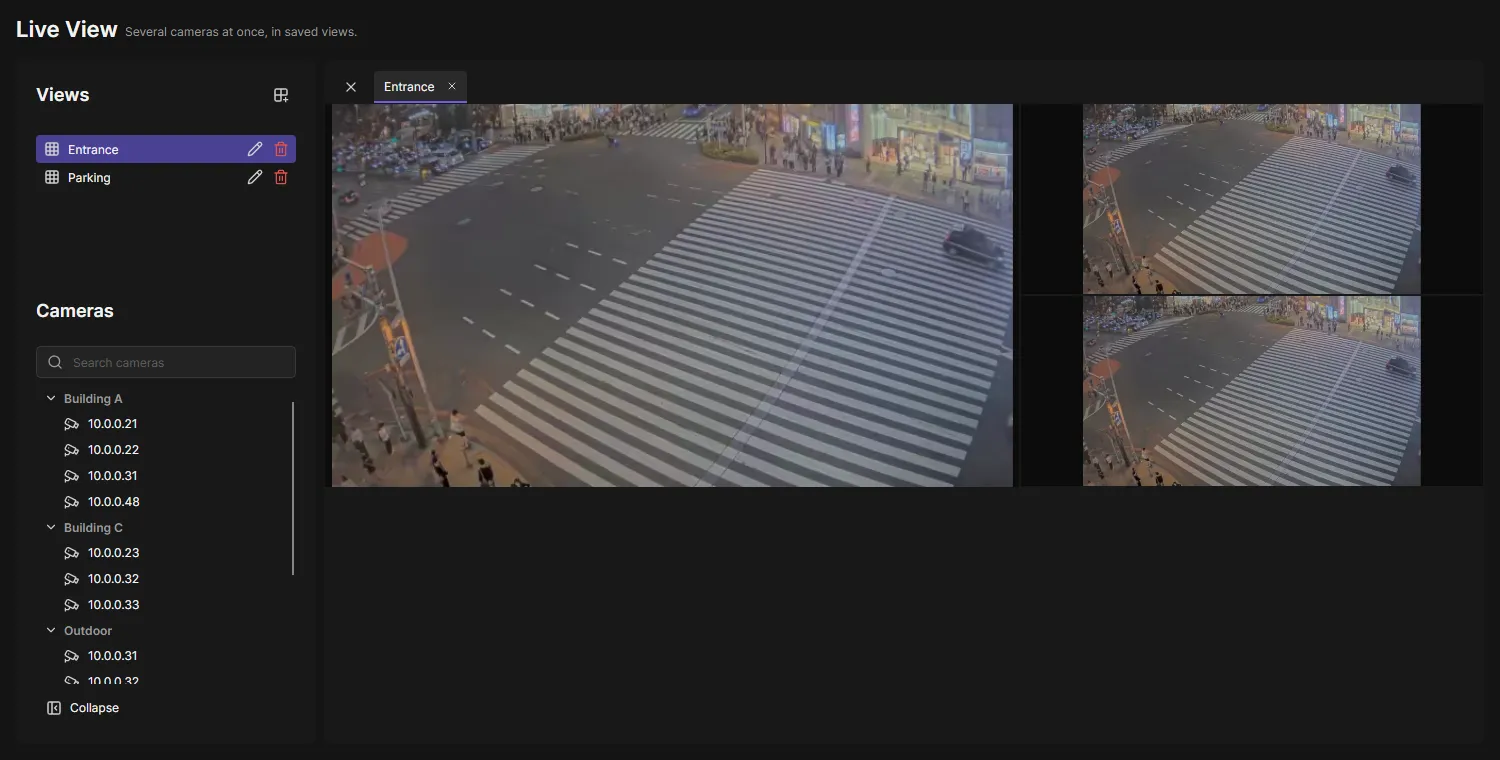
Open a view
Section titled “Open a view”- Live View is off when OADM is installed: an administrator turns it on under Plugins.
- Open Live View in the navigation rail.
- Click a view under Views. It opens in a tab; open more views and switch between the tabs.
- Click a camera under Cameras to see it alone in its own tab.
- Double-click a camera for fullscreen. Point at a camera for its quality, channel and controls buttons, the same as in the live preview of the Devices page.
Collapse at the bottom of the list makes room for the video; the views stay as icons. Only the view you look at streams; the cameras of other tabs pause and continue when you come back.
Create or change a view
Section titled “Create or change a view”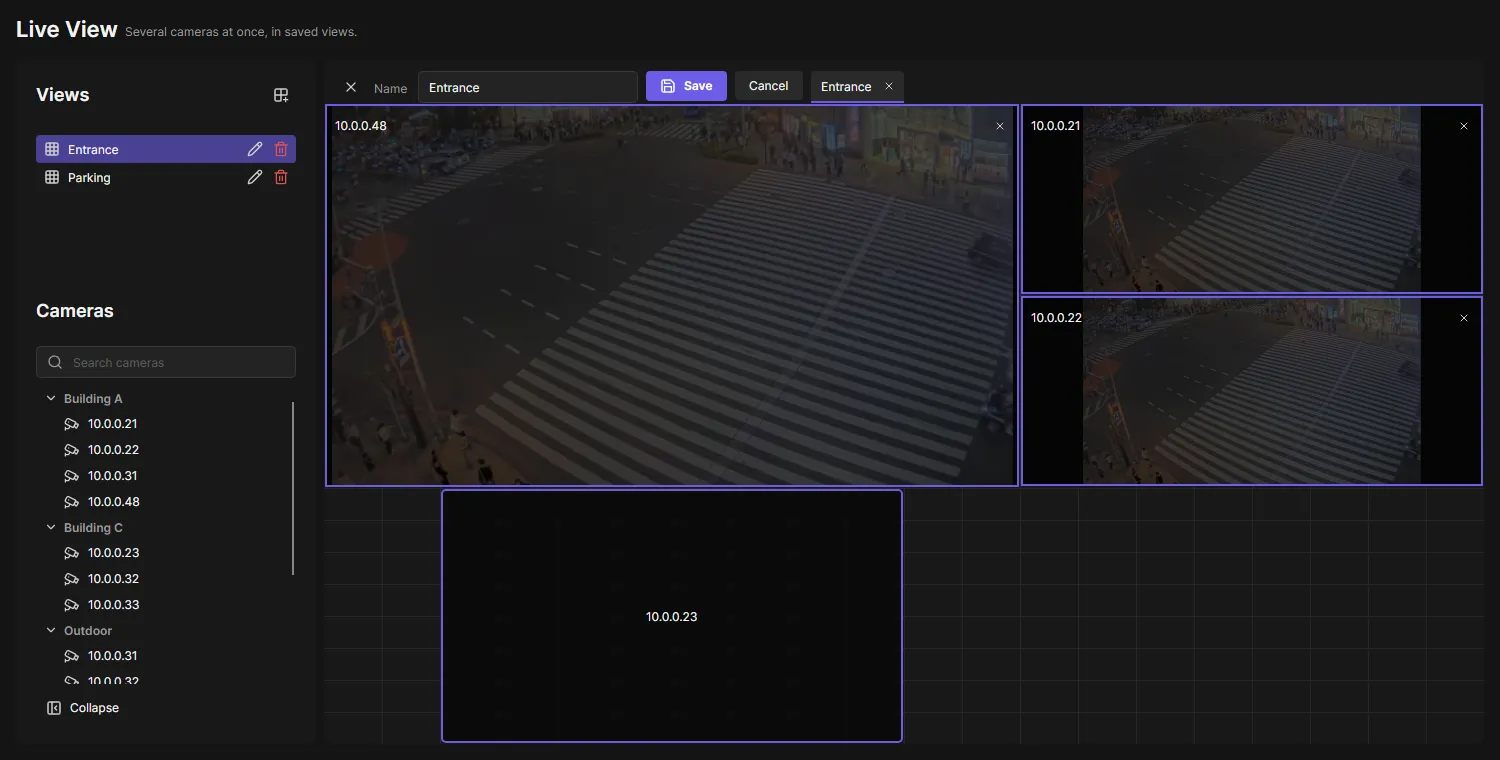
- Click the New view button next to Views, or the pen next to a view. The bin next to it deletes the view.
- Drag cameras from Cameras into the view. A frame shows where it will land: the largest free space where you drop it. A click on a camera puts it in the first free space.
- Drag a camera to move it, drag one of its edges or corners to resize it, and click its X to remove it. Cameras snap to the grid and never overlap.
- Enter a name and click Save. Cancel throws your changes away.
A view holds up to 16 cameras. On a camera with several view areas or sensors, the channel you choose while editing is saved with the view.
Good to know
Section titled “Good to know”- Views are stored on the OADM server and shared by every user. When someone else saves a view you have open, your tab follows.
- Who may create, change and delete views is the right Change views on the Users page. Viewers only open views. Seeing the video needs Live view.
- A camera that was removed from OADM keeps its place in the view and says so.